Arch Linux dual boot with Windows 10 using separate hard drives

Last updated: April 4 2022 | Created: Mar 2 2022 | This post is under CC0 1.0 Public Domainlicense. | Estimated time to read and setup: 70-90 minutes
Welcome to another post on my blog. This is going to be another guide, but I'm seriously going to try to makeless of them and publish some other kind of interesting and entertaining content, like personal thoughts andopinions. As the title said I am going to walk you through a complete Arch Linux and Windows 10 dual bootguide, from complete scratch. You will need some patience if you have never done similar like this.
why this guide might not be for you?
- If you have never used Arch before, and even if you are willing to learn I would not recommend you do this. Instead of Arch, try something easier, like Ubuntu or Pop! OS, which are much easier for beginners. Arch is a do-it-yourself, advanced piece of Linux distribution
- If you are happy with your current dual boot or single boot configuration
- You are not using a UEFI-capable motherboard
why this guide might be for you?
- You love GNU/Linux, but you still need to use Windows for specific tasks, for your job, school etc.
- You enjoy learning new things and willing to learn
Before we jump into the Get started section, I would like to draw your attention for a few things. First, the Arch Wiki. It is truly awesome.. I know that people are always yelling you this at forums, but it really is. It has helped with many issues and it's probably the best documentation out there available. Also, before panicking, use the Internet. Most of the problems that can possibly come out during installation can be very easily solved.
The final words before we jump into the world of Arch: Take your time. If you don't succeed for the first time, but I am sure that if you keep trying, you'll succeed eventually and you'll be a very happy computer user. So as the title says it is a dual boot with separate hard drives, so my configuration has two of them, too: HD1: 30GBHD2: 40GBObviously, these are virtual drives, and I am going to use a VM so I can take fancy screenshots for this post. The bigger hard drive will be the space for the Windows installation, and this is where we are going to put the GRUB bootloader in.
what you'll need
- A minimum of 8GB USB flash drive
- UEFI boot capable motherboard
get started
- First, obtain the OS images. As we speak, the latest release of Arch is the 2022.03.01 one. Doesn'tmatter, just grab the newest one. I highlyrecommend the BitTorrent download option so this way you can skip the checksum verification, because thetorrent client already does that for you. 800MB or so is the file size, save it to someplace.
- Next comes the Windows 10 download. Now I am sure you know how to do this, but I am still goingto briefly explain it. If you are on Windows right now, the Microsoft website will offer you a tool tocreate the Windows 10 installation media, you can use that easily. Just download it, accept the terms.
- On the next screen choose your preferred language, and then click next.
- On the last screen, select the ISO file option. Do not write this to the flash drive just yet. Select where you want to download it, and then wait until it is done. This really depends on the speed of your internet.
If you want to use Windows 11 for some reason, go for it. The process will not be any different.
write the downloaded OS images to a USB flash drive
All right, now I assume you have finished downloading everything, you must write these images to a bootable flash drive. As a bootable image creator tool, I will use Ventoy. It is popular nowadays, and it has a formidable functionality which makes it superior over Rufus or Etcher. You can write multiple OS images to a flash drive, without reformatting it every single time, which makes our lives much easier. You can use Rufus or Etcher too, if you don't mind creating the bootable USB drive twice.
- Insert your flash drive, and if it was recognized, install Ventoy on it.
- Warning: it will destroy everything on your flash drive. After the installation is done, you will seetwo separate partitions in your system.
One has a weird name, ignore it. The other one is called “Ventoy.” Just copy the downloaded Arch and Windows images to it.
AND BEFORE DOING ANYTHING!!!
As you are going to use two separate hard drives for this, EVERYTHING on those drives will be deleted, and most of them will be overwritten which means, no one, will ever be able to restore anything from there. So, take your time, and backup everything that is important to you to a cloud storage, a different hard drive that you will not use for the installation, or to an external HDD/SSD. I am not responsible if you lose something valuable because you skipped this part of the guide and you did not backup your data. Technically, you can use an existing Windows Installation, but I would recommend starting from zero. Cool. I am not a mad person, do not worry.
starting the installation
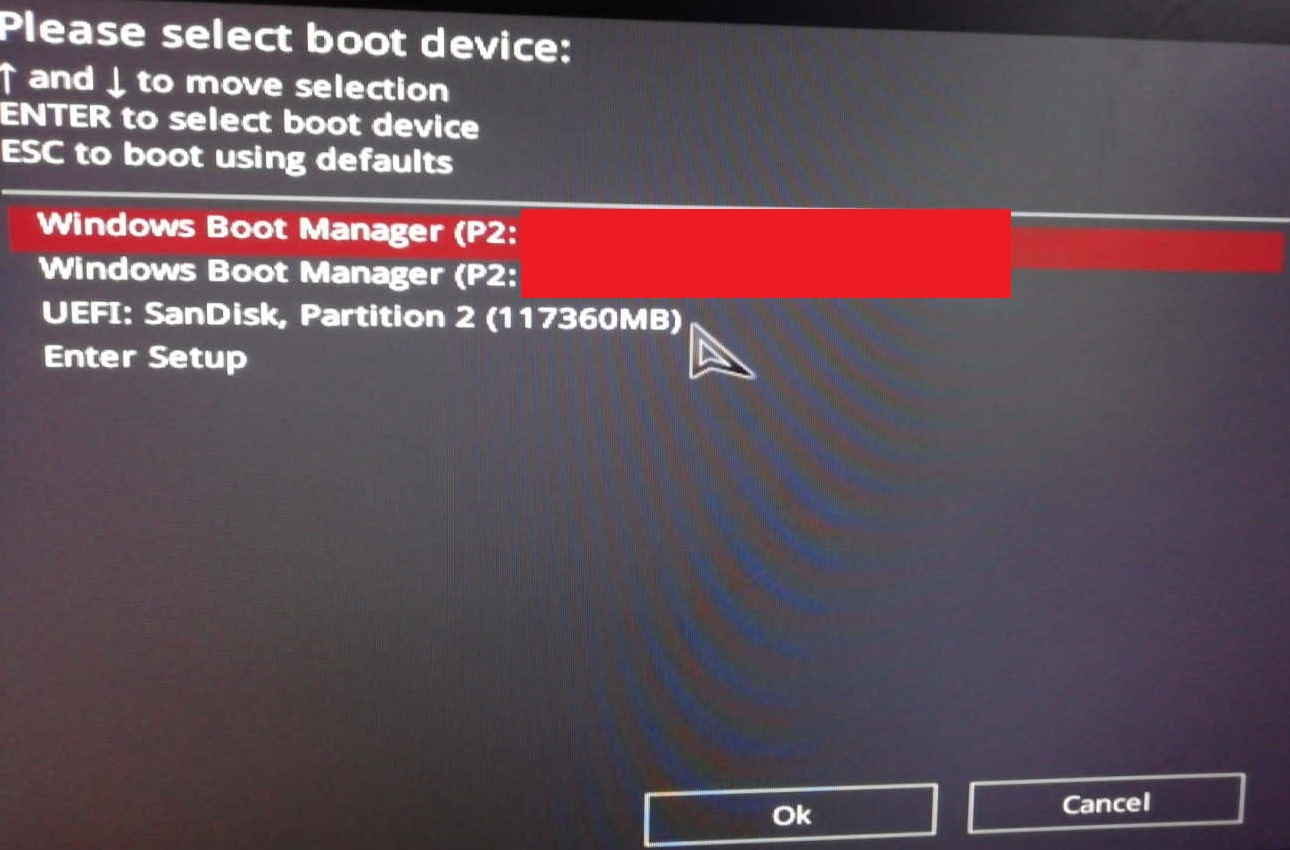
- Now say goodbye to your current OS and restart the PC. You will have to enter the so called “Boot Menu”or “Quick Boot.” Usually this can be done by either F8, F10, F12. On my motherboard it is F8 and I'msure this is the case in many of the ASUS motherboard owners.
- Choose your flash drive (using the arrow keys) and then hit Enter.

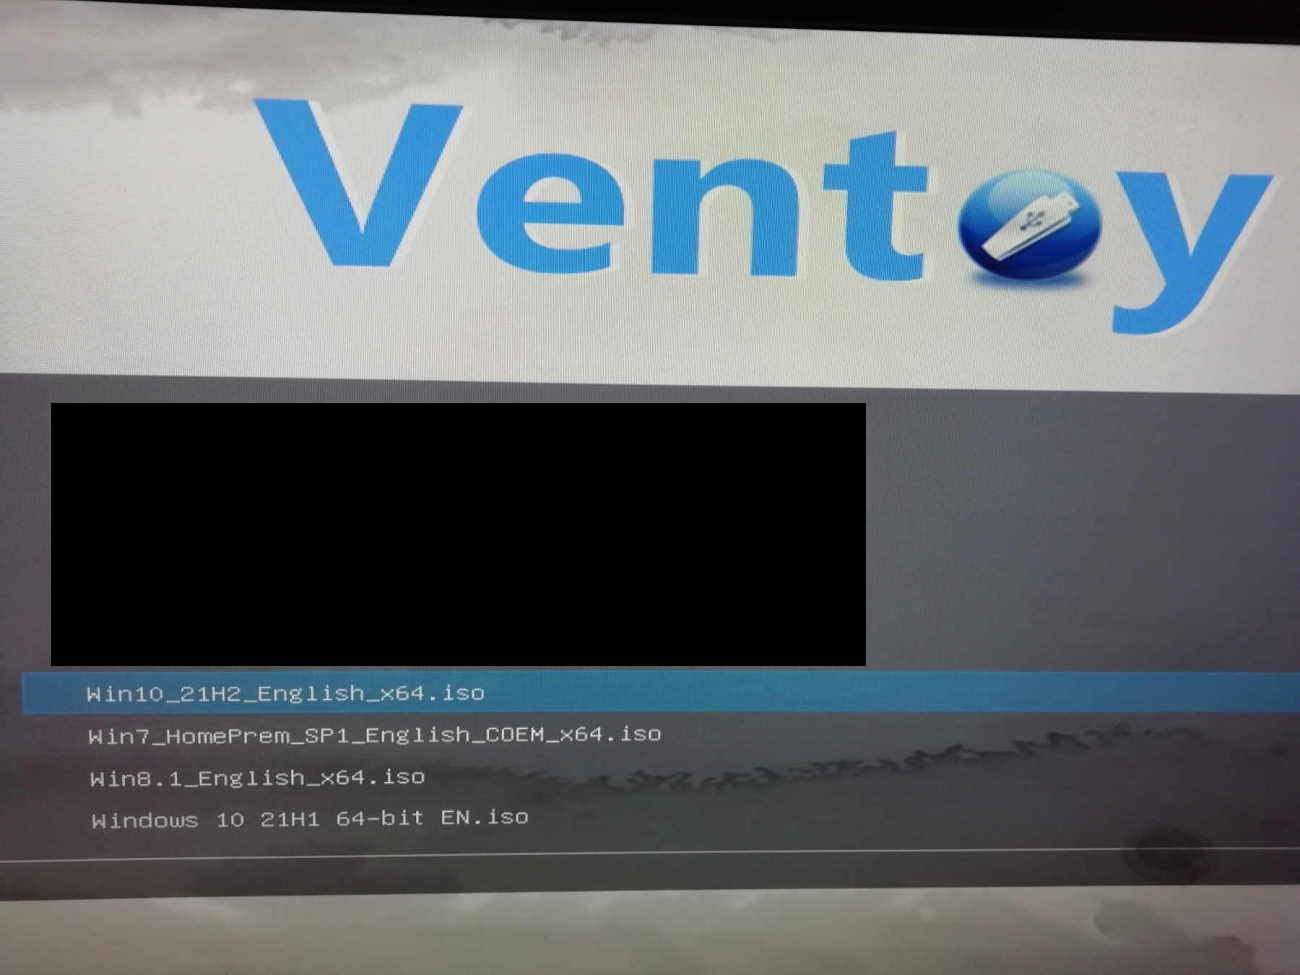
- After that, on the Ventoy screen, select the Windows 10 ISO.

Until it is happening, let me quickly explain the installation process. First, I will install Windows. And after it is done, the harder part will come, the Arch installation on the smaller disk, and the GRUB installation on the EFI partition that was created by Windows. Also, I'll install a package called os-prober which will detect the existing Windows installation on the computer and add it to GRUB. This is it in a nutshell.
installing Windows
I am not going to walk you through this step-by-step, since it is quite easy, I'll only say one thing about the partitioning.
- Once you're at the “Where do you want to install Windows?” page, just make a new partition from thedrive that you want to use for Windows, in my case it is the 40 GB hard drive.
- The Windows installer will also create a 100MB EFI partition which is not too big, but it will be enoughfor Windows and Arch. Format the partitions, then select the correct one, and hit next.
- It will restart like two times, then finish the installation. After it is done, restart the computer,and using the same way you used to boot into the Windows installer ISO, boot into the Arch ISO.
Installing Arch
- After booting into the Arch ISO, here's what it will look like. Press Enter here.
- First, load the keyboard layout. If you are using the US keyboard layout, you don't have to do anythinghere. I'm going to use the Hungarian layout, so
loadkeys hu. But this works with alllayouts, as this Arch Wiki article says. - Next up, let's connect to the Internet. If you have an Ethernet cable plugged in, it should workautomatically, if not, plug one in right now. If it is not possible for you to use cable, check this article on how toconnect to Wi-Fi.
One recommended thing, before you continue: use the command setfont -d to double the current
font size. It's optional, but I like it.
- Now test the internet connection, by pinging any website. If it works, you can continue.
- Now here comes the partitioning. I'm going to use
lsblkandcfdisk. Mypartition scheme looks like this right now. As you can see/dev/sdbis the drive containingWindows and the EFI drive (100M) where I'm going to put the GRUB bootloader in. - Next step is to format them. As the EFI partition was created by Windows, it doesn't need to beformatted. Let's format the root partition first. As you can see on the picture above the root partitionis called
/dev/sda2in my case. Format your root partition using the following:mkfs.ext4 /dev/sdaX. - Then mount the partitions. You'll need to mount the root and the EFI partition (for the bootloader). Theswap doesn't need to be mounted anywhere; it just needs to be turned on.
- If you have a newer sound card, it is also recommended to install the
sof-firmwarepackage. - Also install your CPU's microcode, for me it is:
amd-ucode(highly recommended)[intel-ucodefor Intel CPU's] - For compiling stuff, sudo access and to use the AUR later:
base-devel(highly recommended) - Bootloader and UEFI boot manager:
grub efibootmgr(must) - A text editor(can be anything):
nano(must) - And a network manager:
networkmanager(must) - Great. Now create the
fstabfile:genfstab /mnt > /mnt/etc/fstab - It is getting exciting: jump into the installation using
arch-chroot /mnt - Set the time zone:
- Localization: open the
/etc/locale.genfile using your editor of choice. - Load the keyboard layout unless you're using a US keyboard and make is persistent inthe
/etc/vconsole.conffile: - Specify the computer's hostname in
/etc/hostname: - And configure the
/etc/hostsfile and add the following line toit:127.0.0.1 localhost - Set a root password:
passwd [pass] - Now let's add a normal user because it is not the best idea to use the root user everywhere in yoursystem.
useradd -m -G wheel -s /bin/bash [username] - Set the user's password:
passwd [username] - Edit the sudoers file.
EDITOR=editor_of_your_choice visudo - Enable NetworkManager before rebooting:
systemctl enable NetworkManager - Since this is a dual boot setup, you're also going to need another package called os-prober to detectother operating systems that are installed on your PC. Install it now:
pacman -S os-prober. - FINALLY, install grub:
grub-install --target=x86_64-efi --efi-directory=/boot --bootloader-id=GRUB. You're free tochange the bootloader ID. - Now exit this shell using the
exitcommand and then reboot. - Before installing a graphical environment, you need must have a console emulator installed.
- Final step: install a desktop environment, I chose to install
KDE Plasmasince it is myfavorite. And also a login manager, which will besddm.
So, the unused drive is /dev/sda in my case, this is what I'm going to partition. This isgoing to be the root and swap partition. Use the cfdisk /dev/sdX to partition the drivewhere you'd like to install Arch to.
Create a root and a swap partition. The swap is optional but encouraged. I am going to make a 4GB swappartition and the rest will be the root space.
And make sure to write the changes to the disk. After that, quit cfdisk.
If you view the partition list with lsblk again, you'll see that the partitions were created.
Good. Now format the swap partition. It's easy. The command is mkswap /dev/sdaX (/dev/sda1in my case)
The root partition in my case is /dev/sda2 again, which is what I'm going to do first.Command is mount /dev/sdaX /mnt. /mnt is where you need to mount your root part.
Next thing is to mount the EFI partition. According to the Arch Wiki, it has to be mounted in /mnt/boot, but this directory does not existyet. So, create it: mkdir -p /mnt/boot Then mount the EFI partition, which is/dev/sdb1 in my case. Make sure to mount the correct one. Mount/dev/sdXY /mnt/boot.
Finally, turn on the swap: swapon /dev/sdaX (sda1 in my case)
The final partition should be like this:
You have a root partition which is mounted in /mnt, a swap which is turned on, and the EFIpartition that was created by Windows and is mounted to /mnt/boot.
Let's install the system.
Command: pacstrap /mnt base linux linux-firmwareThese are the minimum what the Arch Wiki recommends. Additional packages:
The final command looks like this for me:
And now wait, this is going to take a while, depending on the speed of your internet.
It shouldlook something like this at the end:
After that, you can check its content using the cat command: cat /mnt/etc/fstab
ln -sf /usr/share/zoneinfo/Europe/Budapest /etc/localtime (This will create a symlink fromthe /usr/share directory to the /etc/localtime file). If you don't know yourtime zone, check this article for help.
And then run this command:hwclock --systohc
In this file uncomment en_US.UTF-8 and other locale(s) that you need. Save the file andquit.
Now generate the locales with locale-gen:
Finally, create a /etc/locale.conf and put your selected locale(s) in there:
I'm going to add it to the wheel group using the -G wheel command so later Ican use sudo. And the shell will be bash. At the end, the actual name of the user should be specified.
We're getting really close to the end now.
And remove the comment (#) before that line:
Save the file.
Last step before rebooting: install the bootloader.
And configure the grub.cfg file: grub-mkconfig -o /boot/grub/grub.cfg
But as you can see, os-prober was disabled, so it did not detect the Windows installation.Don't worry, let's do it now. Edit the /etc/default/grub file and uncomment that line:
Now generate the config file again:
As you can see, it was successful this time.
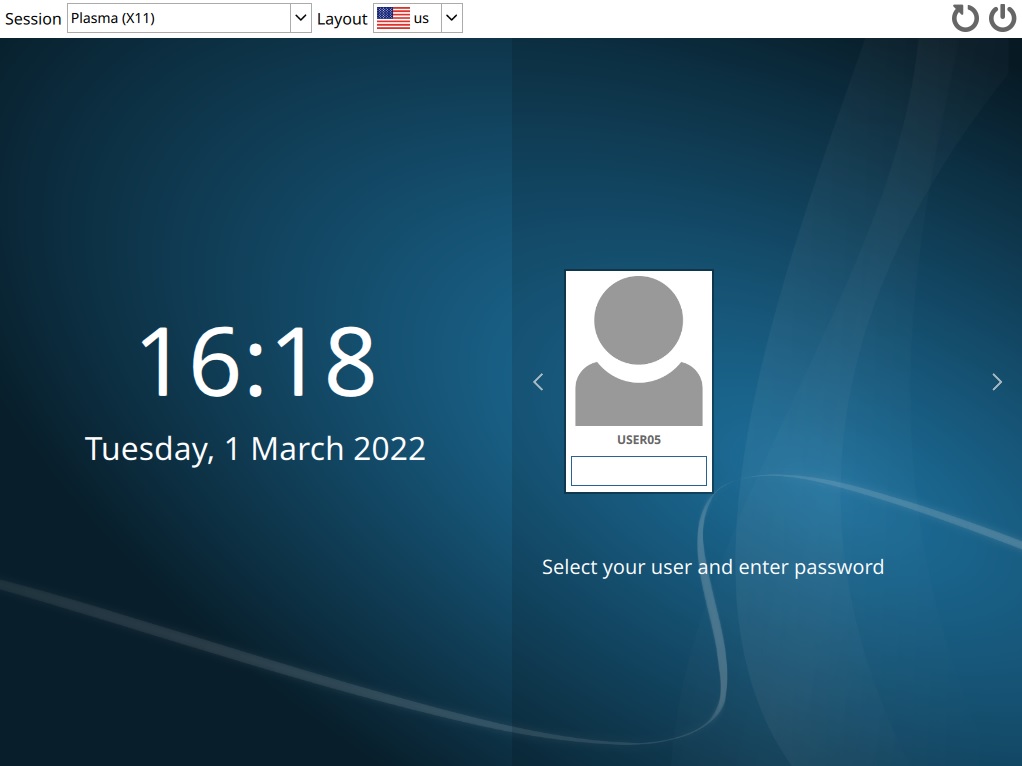
If you see this screen and you can boot into Arch, you should be proud of yourself. Now you can log in toyour system.
So, sudo pacman -S konsole; and I will also install a file manager dolphin, abrowser firefox, a password managerkeepassxc and FileZillafilezilla.
Enable sddm: sudo systemctl enable --now sddm
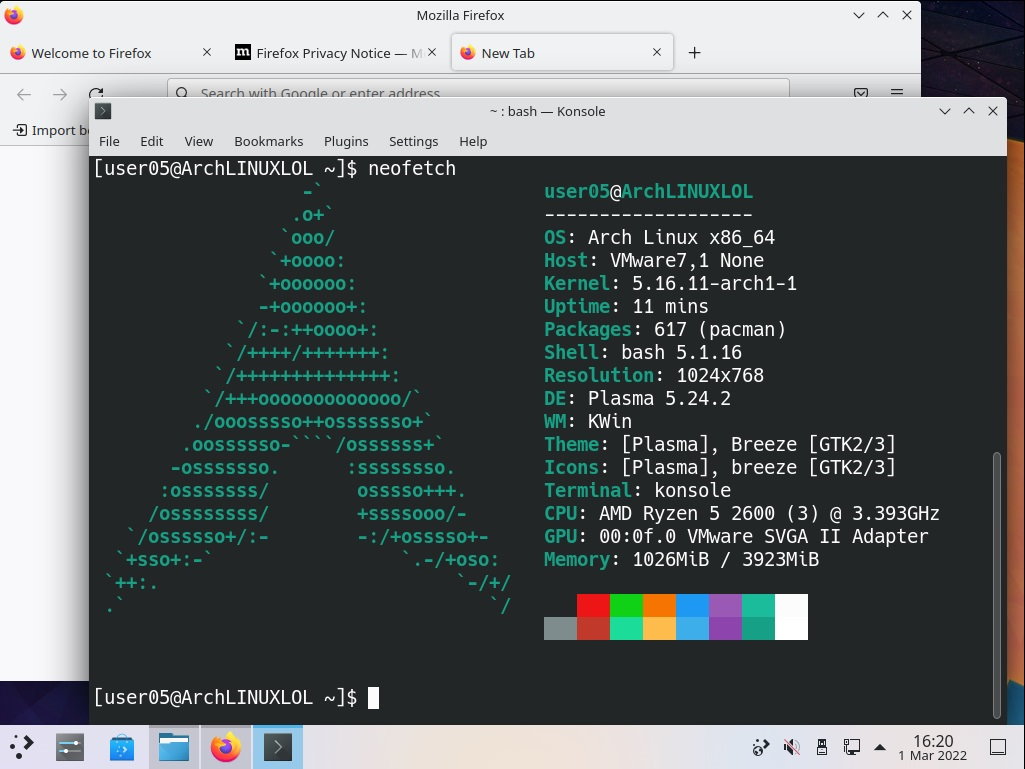
Result:


final thoughts
Hope you're happy with this guide. I put nearly ten hours of work into it and I really hope that yourinstallation was successful too. Thanks for reading. Contact email: blog[at]perjel.hu.